


Dust off the Christmas tree, it’s time to build and brighten up the festive season with these 13 DIY Christmas decoration ideas.
1. Hand painted baubles

Grab your paints and put a creative spin on those plain, store-bought baubles this festive season! To try these DIY Christmas decorations, all you need are baubles, some acrylic paint and a few paint brushes. If you want to cut down time, you can keep the bauble’s original colour. Then using a small brush, draw brown branches around the bauble. Next, dip your brush into the green to create your leaves. Reach for some red acrylic paint to add your holly, or use white to add mistletoe, then leave these baubles to dry. Once dry, they’re ready to hang!
What you'll need:
· Baubles
· Small detailed brush
· Acrylic paint (white, green, red and brown).
2. Personalised stars

Create a truly unique DIY Christmas decoration with some air dry clay. Roll out your air drying clay, then using leftover biscuit/cookie cutters, create your shapes. Think Christmas trees, stars and circles. Don’t forget to add a hole in the top of your creations before they dry, so you can hang them from the tree, garland or wherever you like! Then grab some acrylic paint to jazz up your creations. Be sure to glaze when you’re finished to seal the deal, before you hang them up!
Handy tip: Using your left-over clay, you can create smaller shapes and use them as gift tags for presents!
What you'll need:
· Air dry clay
· Biscuit/cookie cutters
· Acrylic paint (colours of your choice)
· Small detailed brush
· String to hang
3. Air dry clay snowman

Give air dry clay a go with this DIY Christmas decoration and create your very own snowman. This snowman project will add a bit of Christmas cheer in and around the home. Or create a great conversation starter and use this as a table centre piece. Follow along with our lesson here.
What you'll need:
· 200g block of white Air Dry Clay
· An acrylic palette
· Pencil
· A fine paint brush
· Cup to hold water in
· Acrylic Paint (black and orange)
· Pair of scissors
· Two small twigs for arms
· A piece of fabric for scarf.
4. Pet bauble

Don’t forget to save your pets a place on the Christmas tree too! Give your fur-babies their own bauble, with this Christmas decoration idea. Jazz up a store-bought bauble or create your own using a paint pen marker or fine line marker and try your hand at calligraphy! You can practice your writing on a piece of scrap paper first before trying on the bauble. Then decorate with bones for dogs, fish for cats or carrots for rabbits!
If you’re new to calligraphy, check out our hand-lettering lesson here.
What you'll need:
· Clear bauble
· A paint pen marker or fine liner
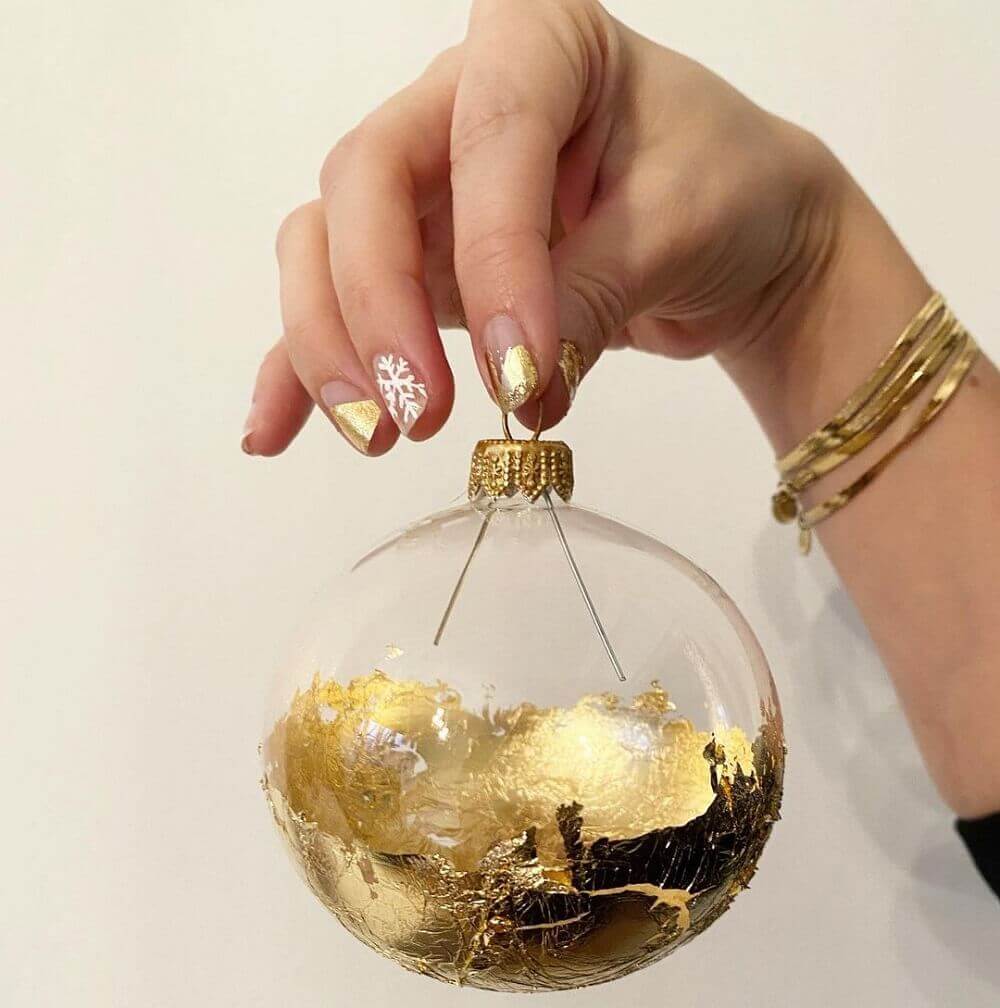
5. Gold leaf bauble

Create a Christmas that is all things shimmer and gold with this DIY Christmas decoration idea. To begin, grab a bauble and pop on some leaf sizing adhesive with a soft taklon brush. Lay your gold leaf onto the glued area and work your way around the bauble.
Placing the gold onto the bauble doesn’t have to be perfect, in fact the messier the better! Finally, let your creation dry for 30 minutes, then you’re ready to hang!
What you'll need:
· Bauble
· Leaf sizing
· Gold leaf
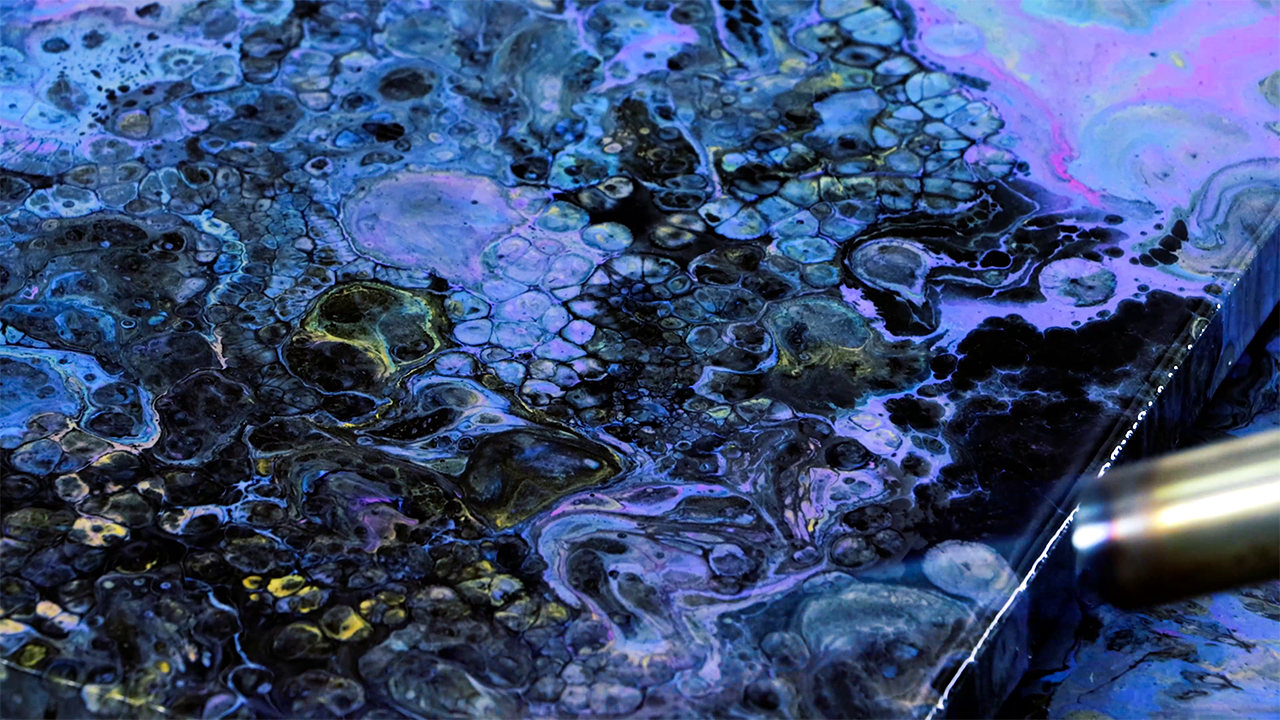
6. Pouring Paint bauble

Hang a masterpiece on your tree with this pouring paint Christmas bauble idea! Grab a pack of clear baubles from your local department store and let your creativity run wild. We’ve created a lesson to show you how you can create your very own pouring paint baubles, you can check it out here.
7. Abstract Christmas baubles

Swap your canvas for a Christmas bauble like this Christmas decoration idea! If you’re using store-bought Christmas baubles you can remove the colour by using methylated spirits on a paper towel. Then gesso the ball with a large brush to cover the surface. Wait around 30 minutes to dry before you paint your bauble with a background colour. Apply two coats then jazz up your baubles with your chosen design. Think geometric patterns, zigzags, spots and dashes.
What you'll need:
· Baubles
· Acrylic paint (your choice of colours)
· Large brush
· Small brush
· Gesso
· Methylated spirits
· Paper towel/Kitchen roll
· Ribbon
8. Styrofoam Snowmen

These little snowmen look great around the house or you can even pop them amongst the branches on your Christmas tree. Start by hot gluing two Styrofoam balls together. To make the hat, create a cone shape with the red felt and wrap the cotton wool around the base of the cone and glue it in place. Pop a ball of cotton wool on top of the hat, then glue it in place to secure the pieces. Make another cone shape out of the orange felt for the snowman’s carrot nose and glue it in place. Pop some eyes, a mouth and some buttons on with a permanent marker or fine liner. Using left over red felt, cut out a strip of felt for the scarf (you can add green details like this idea), then glue on the twigs for arms and you’re done!
What you'll need:
· Two styrofoam balls
· Felt (red and orange)
· Cotton wool
· Permanent marker or a fine liner
· Small twigs for arms
· Hot glue
9. Clay gnomes

Using air dry clay, you too can create these cute Christmas gnomes. Roll your clay into 3 balls, a large ball will create the head, the small ball will be the gnome’s nose and a tiny ball will create the gnome’s bell on his hat.
Next, roll some more clay into a triangular, cone shape to make the hat. Press the hat onto the head, pop on the nose and add a bell to the hat. Be sure to curve the hat because this will help you hang the gnome once you’ve finished. Roll out a small tube-like shape to make the base of the hat, then let it dry.
Next, leave your clay gnome to dry for a day or so before adding in your finer details with paint. After 3 days, glue the hat into the gnome’s head to make sure his hat doesn’t fly off and glue the nose down too. Once the glue has dried, your gnome will be ready to hang, use some ribbon and tie a loop around the hat. Then hang your brand new Christmas decoration!
What you'll need:
· Air dry clay
· Rolling pin
· Acrylic palette or old plastic cutting board
· Acrylic paint (your choice of colours)
· Ribbon
10. Tealight House

Add some Christmas sparkle with this DIY Christmas decoration idea. This Christmas tealight house will brighten any festive Christmas table. Plus, we’ve already drawn the house up for you, so you can grab the template and create the project yourself here.
What you'll need:
· 2kg block of white air dry clay
· Cup to hold water
· 30cm ruler
· Pencil
· Paper towel
· Wax proof paper
· Medium, round brush
· Small palette knife
· Printed template of the house (which you can find here)
· Acrylic Palette or an old plastic chopping board.
11. Pinecone Christmas decoration

This is a fun and easy DIY Christmas decoration idea that even the kids can help with!
Find a pinecone, then using a small brush, add touches of acrylic white to your pinecone. These small touches will look like snow on the pinecone and give your decoration a fun, festive look. You can add a sprinkle of glitter if you like. Add the final details, by gluing small pom poms on the pinecone using hot glue or you can use craft glue if you’re working with the kiddies. Once dry, tie a ribbon to your decoration before hanging it on the tree.
What you'll need:
· A pinecone
· Acrylic white paint
· Small coloured pom poms
· Hot glue or craft glue
· Ribbon
12. Christmas tree ornaments

Make this year extra special and create your very own Christmas decorations that you can hang on your tree. Here, we’ve created a house, a Christmas tree and a star that you can create too. Check out the lesson here.
What you'll need:
· 500g packet of white air dry clay
· Acrylic Paint (medium green, silver and red).
· A small palette knife
· Pair of scissors
· Medium brush
· Small round brush
· Plastic wrap
· Twine
· Printed template (you can find it here)
· Wax proof paper
13. Hand garland wall hanging

Create a DIY Christmas decoration and remember those special moments with a handmade Christmas garland. First trace your hand on green paper. Depending on how big the hand is and page, will depend on how many sheets you need, but adding another tone of green will add interest to your piece! Cut around the hand and piece the hands together to create a round shape. Then glue to the paper. You will want to keep a few of the fingers up so it looks more natural. Then finish by gluing on the bow to the top and you’re ready to hang!
What you'll need:
· Coloured paper (green and a light colour for the back)
· Craft glue
· Bow for decoration
We hope that you feel inspired to create your own DIY Christmas decorations. Try them for yourself and #montmarteart or tag us @montmarteart on Instagram or Facebook, we’d love to see what you create.
Looking for more? Check out our air dry clay Christmas decoration lesson or our pouring paint bauble lesson.